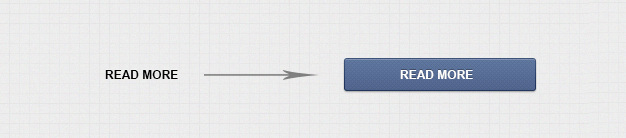
Changing Read More Text to Button
Step 1
You will need to first choose a button style that you would like to use. There are plenty of free graphics for buttons on the web that are available just by doing a simple web search, or you can create one on your own. Leave the button text free, as it will serve as a background image to the standard “read more” text link.
Step 2
Upload the button image to your template’s /images folder using FTP. A great and free FTP program is FileZilla.
Step 3
Once the graphic has been uploaded, it is time to insert the proper CSS code into your template’s stylesheet. Of course, these details will vary depending on the look and placing you desire in your website, but the basics should look a little like the following:
background:url(‘//images/button.gif’) no-repeat;
text-indent:-5000px;
display:block;
width:100px;
height:26px;
}
You can test the button by creating content that requires a “read more” link. When composing a piece of text, be sure to click the “Read More” button below the text entry box.

That will create a dashed line in the text box that will be the stopping point for the text on the home page, as well as the place of the new “read more” image.

Some of the sources in this article were derived from. http://joomlapanel.com/joomla-article/joomla-tutorial/111-adding-read-more-button.htm